Free Airplane Toy Box Plans and Assembly
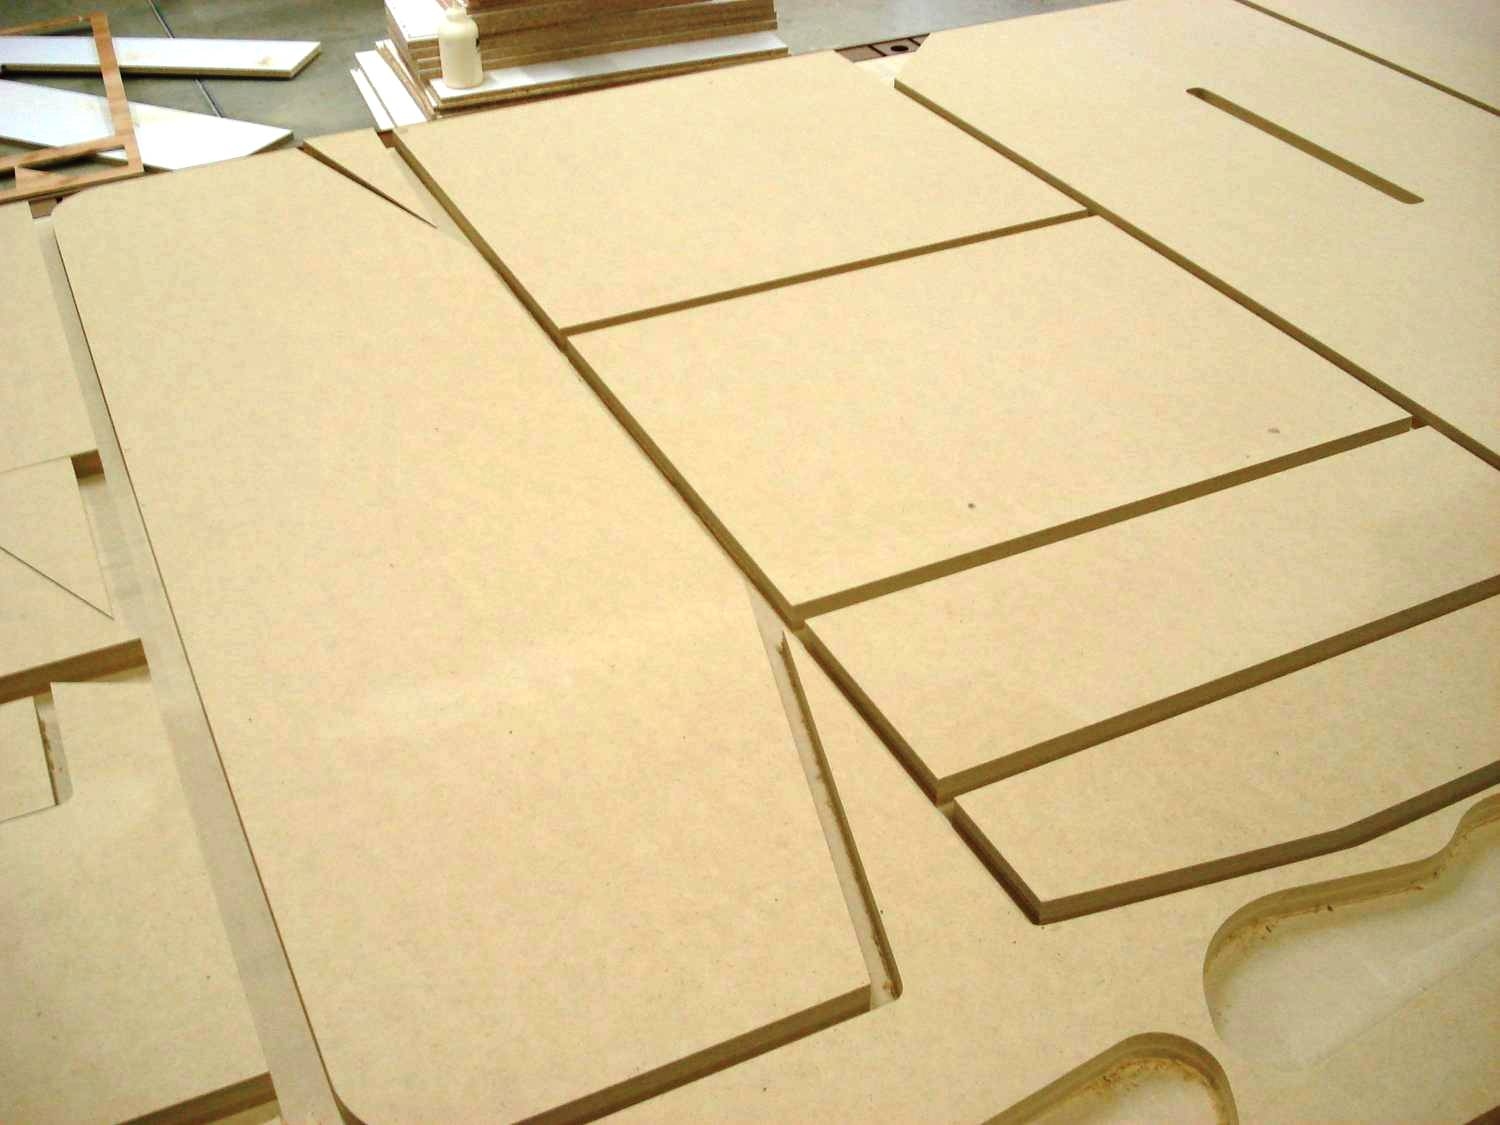
A good carpenter can take the picture below and figure out how to cut out the parts for an airplane toy box. The hard part is getting the angles and miter cuts correct. If you are an aircraft builder you know that following plans will save you time and mistakes. It would be unusual to get it right the first time but it can be done with the measure twice cut once adage of good wood workers. You are free to copy and build. If you want to download detailed instructions, common mistakes, tips, tools and plans (CAD drawings) for each individual part. For $15.00 click here
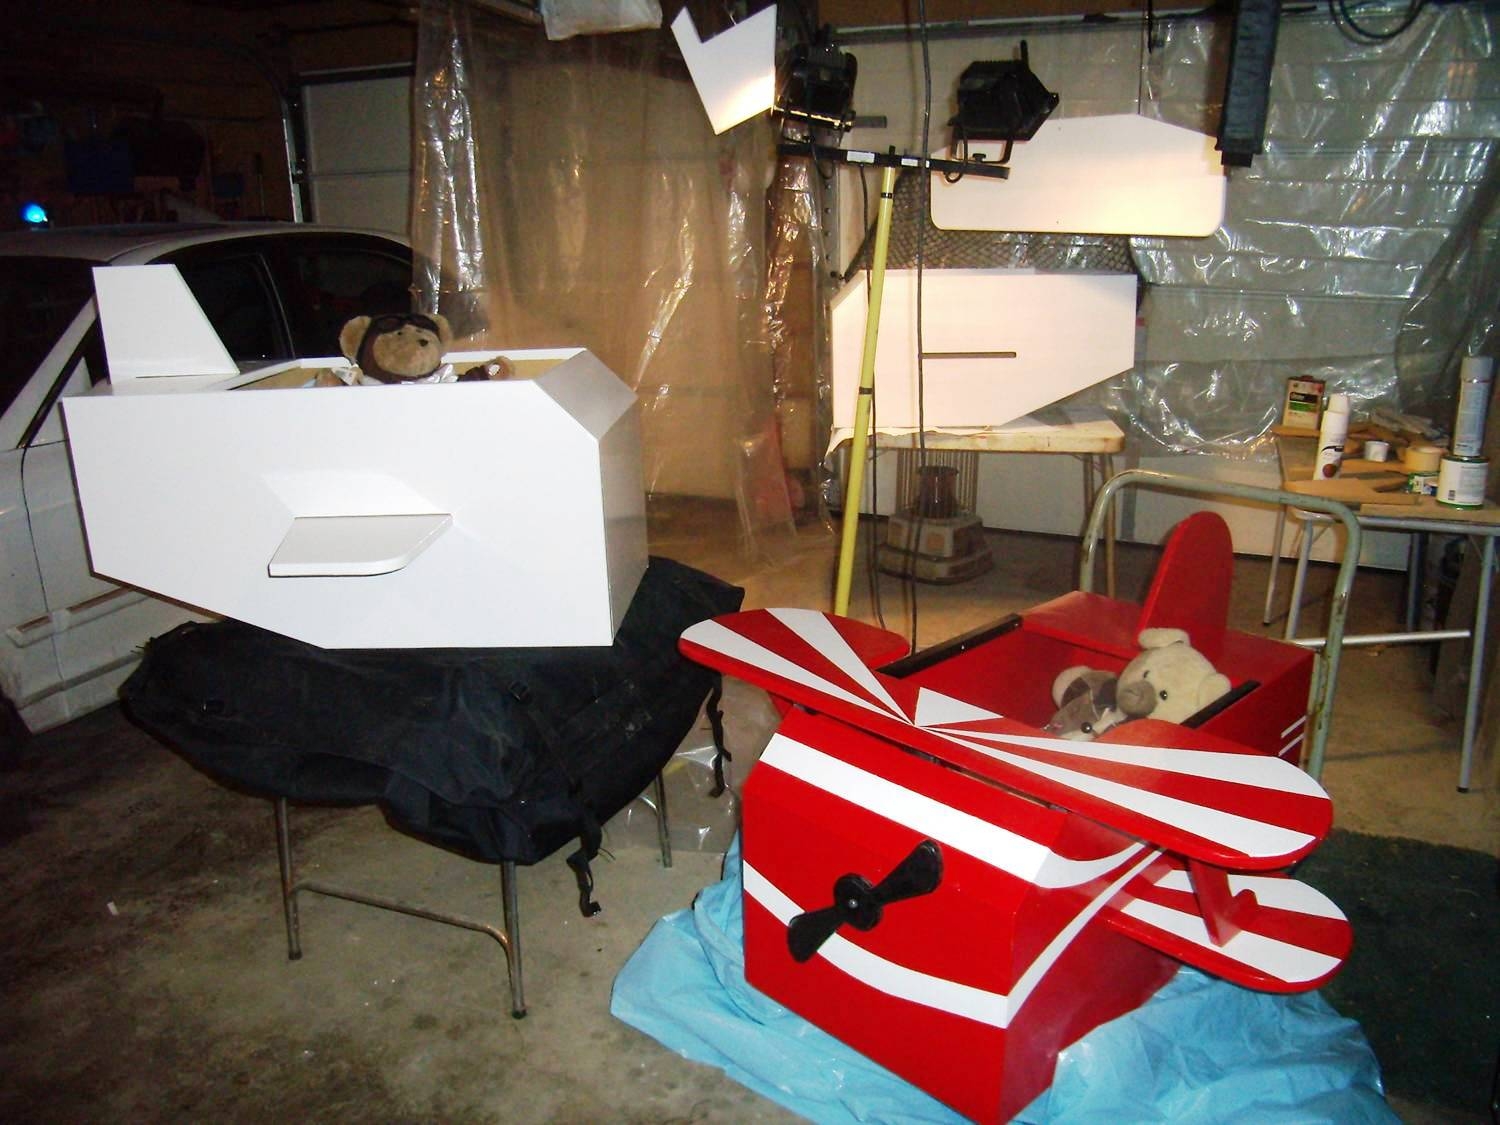
If you want to build in one weekend the plans will help. These airplane toy boxes were built during Oshkosh Air Venture. We built one each day to show Chapter Leaders each could be built in a day by following plans and instructions. Build any airplane imaginable by changing shape of wing(s) and tail(s).
 Once all your wood is cut out into your kit, you can begin assembly. Step one is to drill holes in parts, join the parts and finish. If you follow our detailed instructions and plans you can cut one day and assemble the next day as a weekend project. EAA chapters are advised to find a EAA member(s) to cut wood without children present for safetey reasons. And have YE(s) help assemble as a YE weekend project.
Four major steps to building airplane toy box

STEP 1 Cut wood, now you need to make miter cuts to join angles |

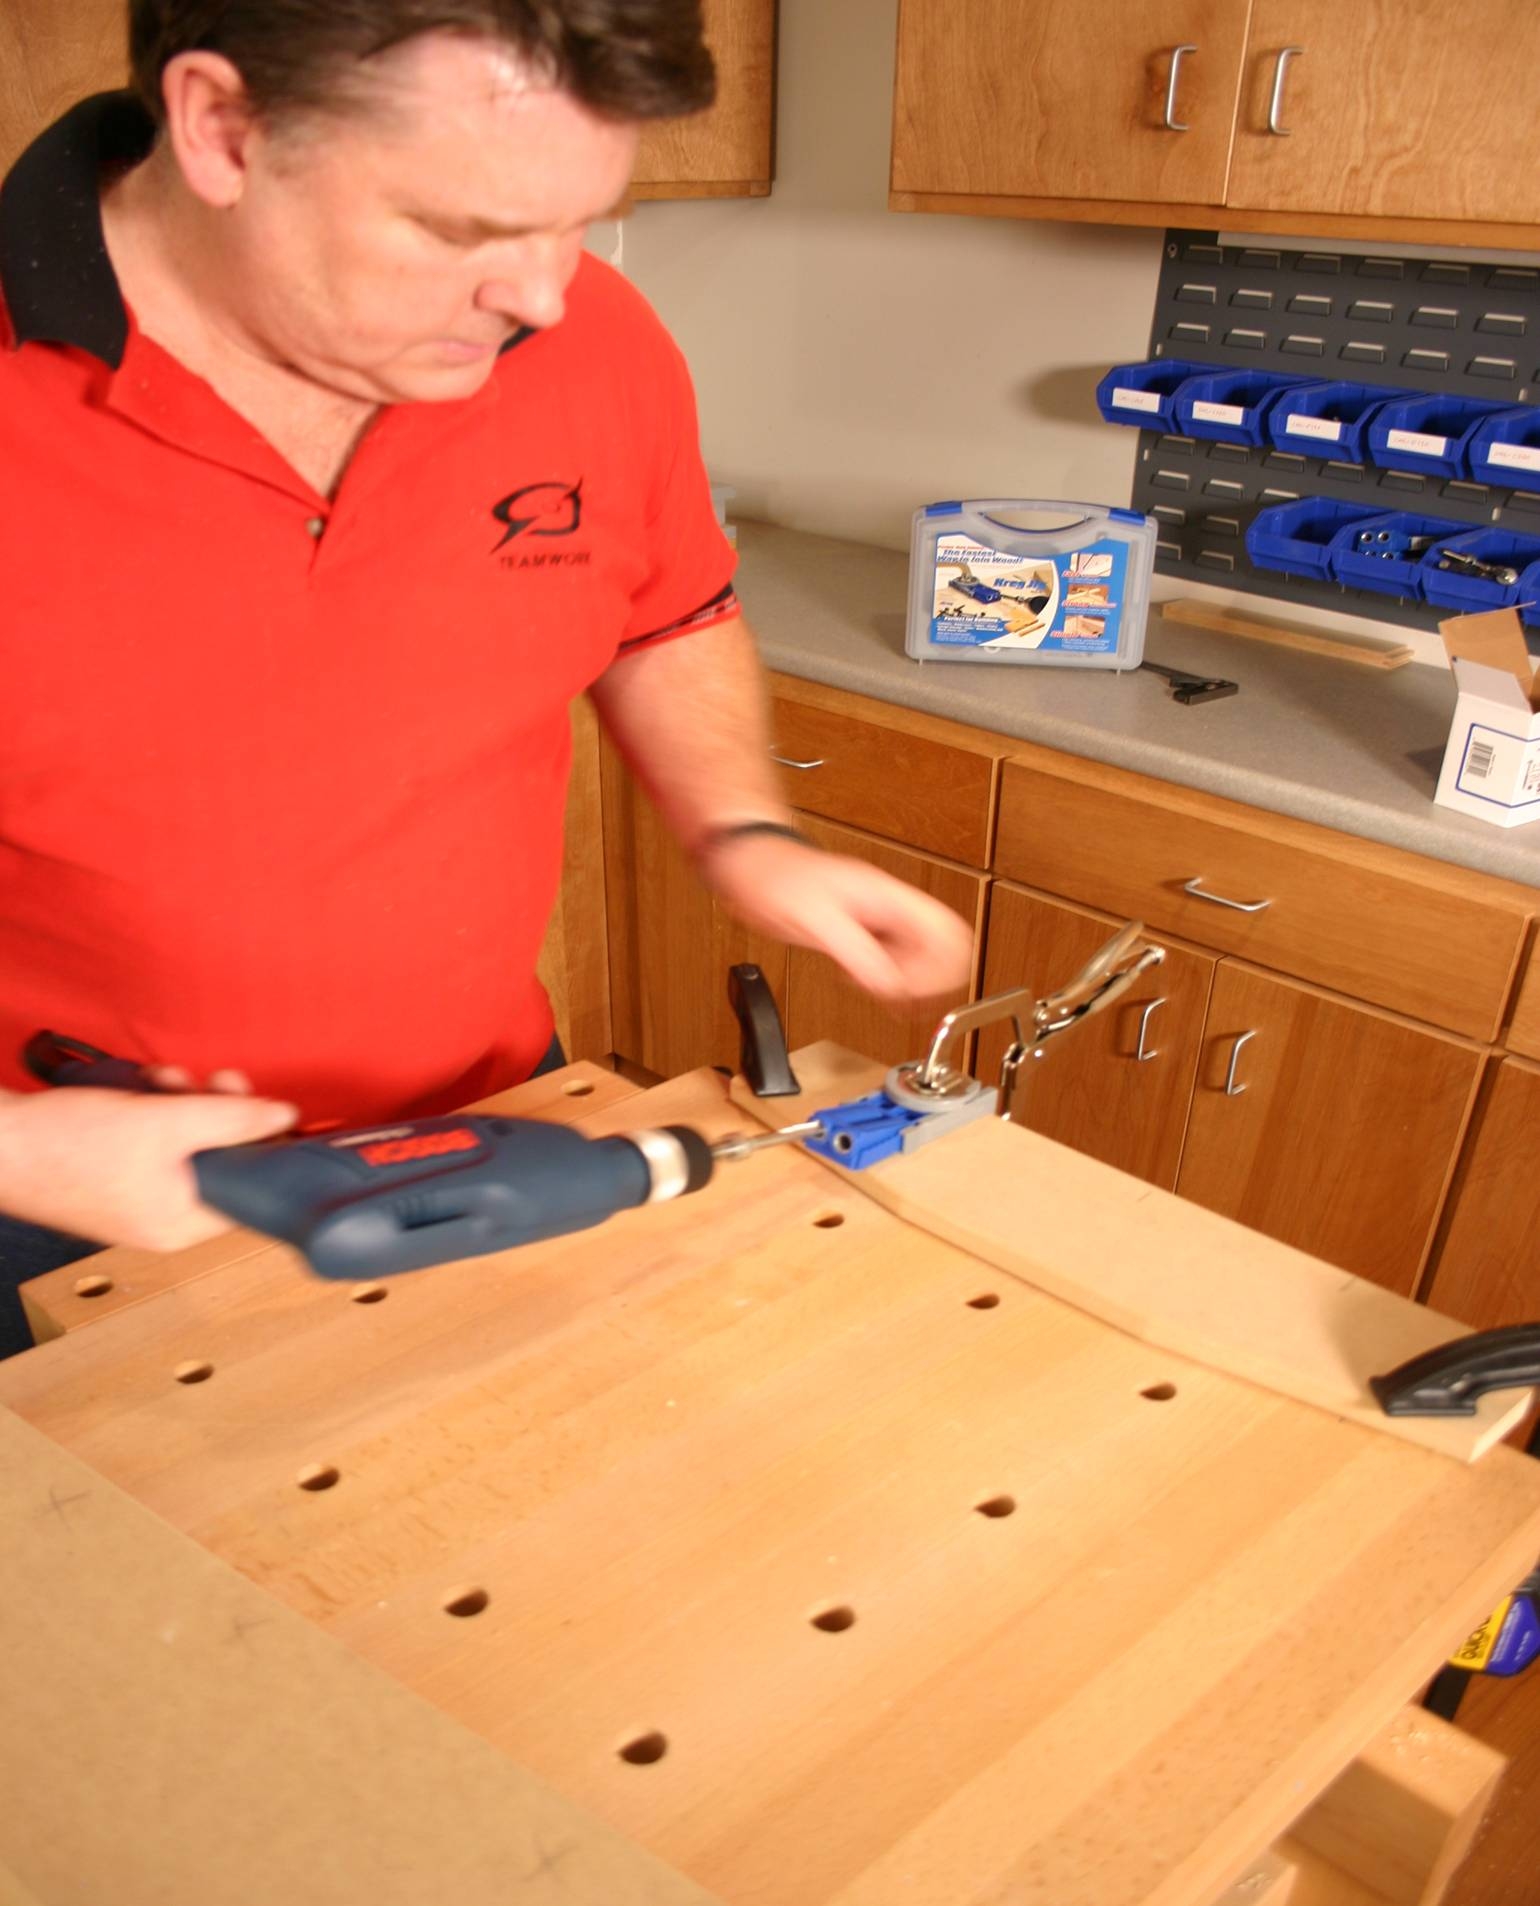
STEP 2 Drill holes (no holes in sides) |

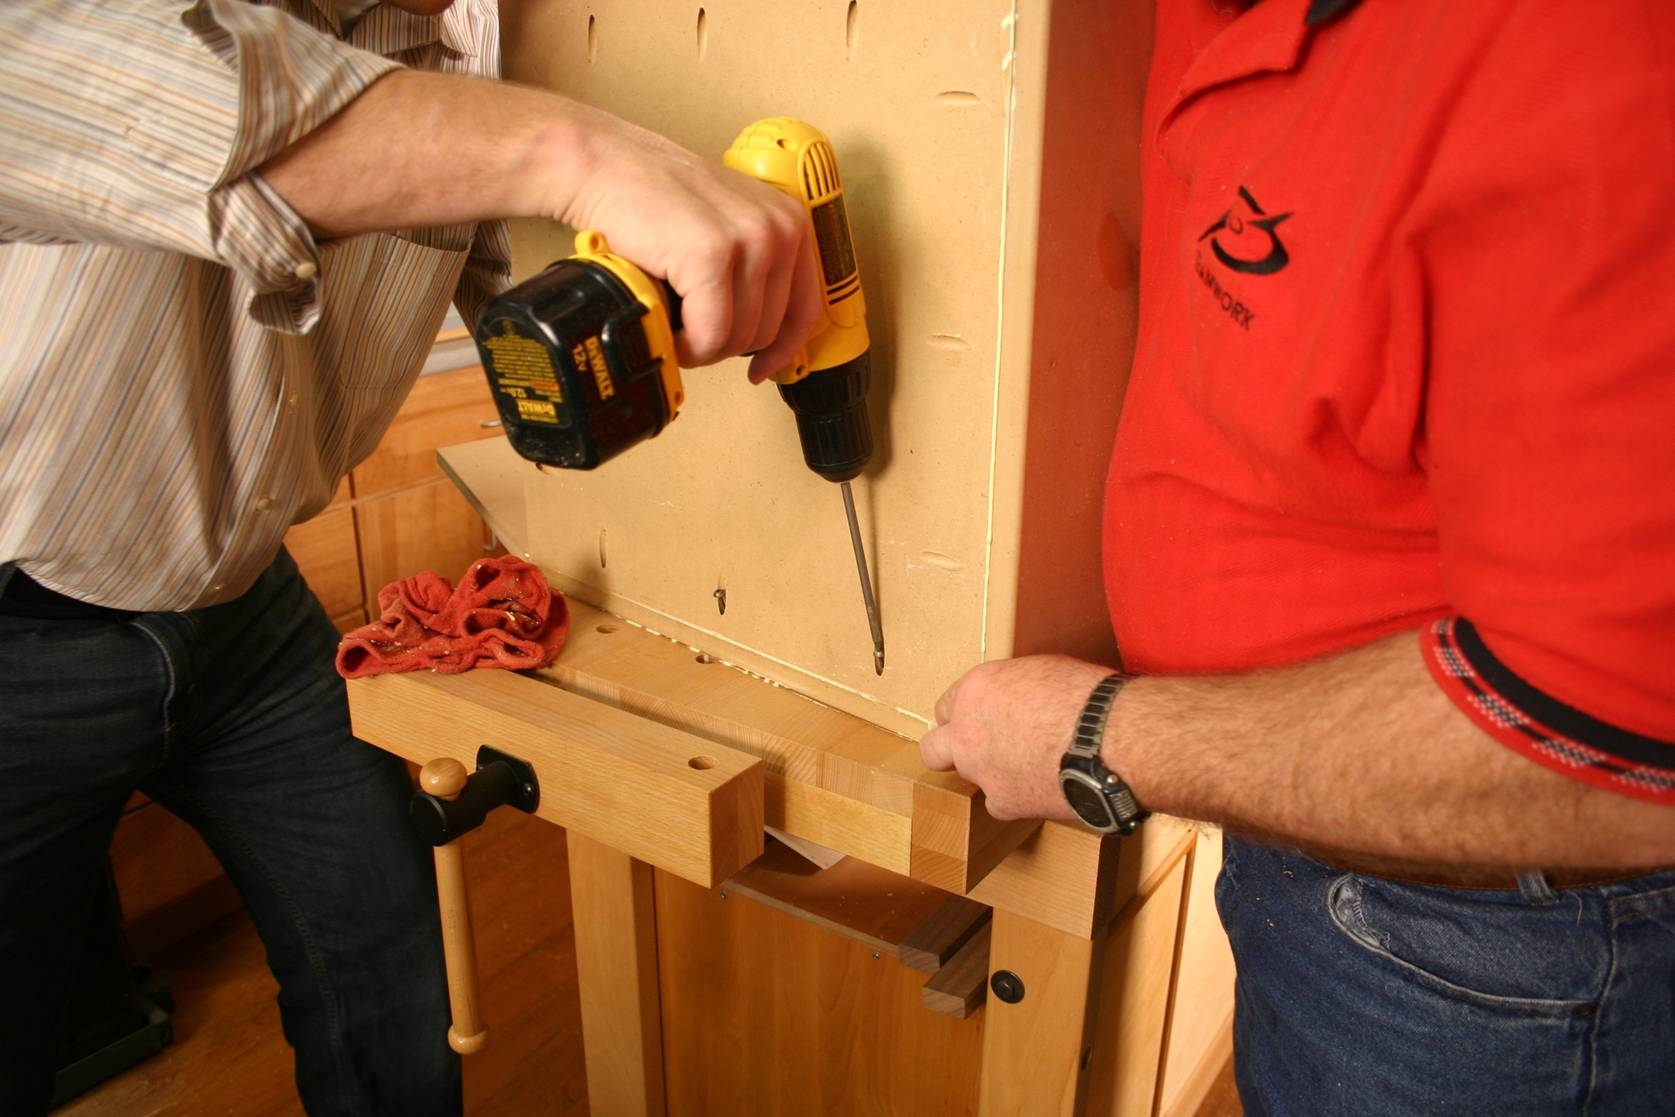
STEP 3 Join sides to all parts (glue for stronger joints) |

STEP 4 Prime, Paint and Finish Airplane Toy Box |

 Once all your wood is cut out into your kit, you can begin assembly. Step one is to drill holes in parts, join the parts and finish. If you follow our detailed instructions and plans you can cut one day and assemble the next day as a weekend project. EAA chapters are advised to find a EAA member(s) to cut wood without children present for safetey reasons. And have YE(s) help assemble as a YE weekend project.